
Download the Alpine template
Templates can be downloaded directly from the Proxmox web interface, though it’s a bit hidden. You have to go to Storage View –> local –> Content –> Templates.
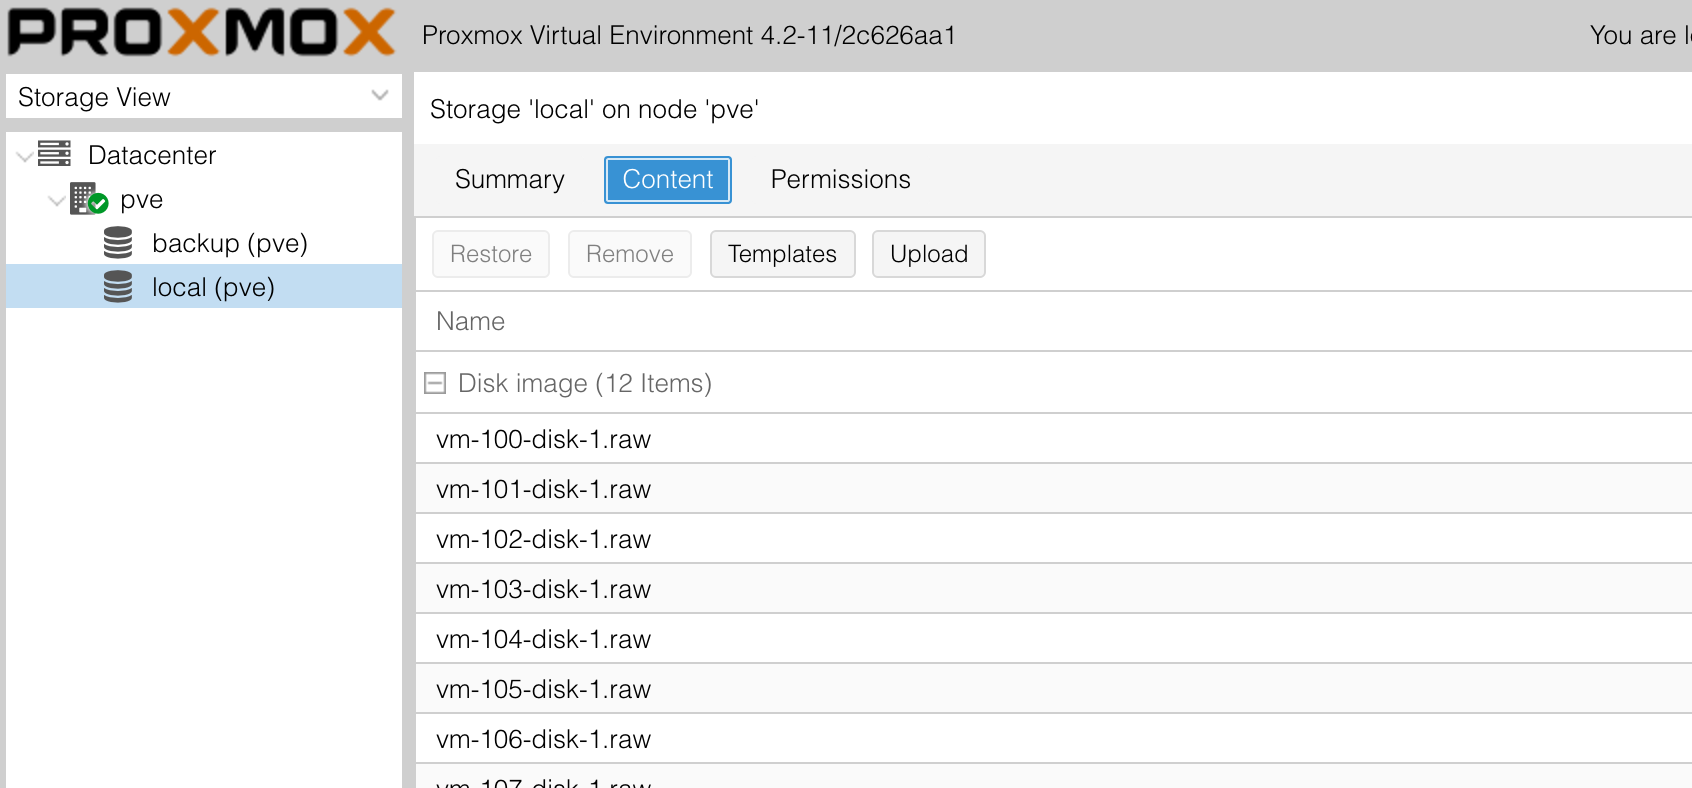
Note: local is the name of my local storage, but yours may be different. Find out where your container templates are stored by going to Datacenter –> Storage and see where ‘Container Templates are stored.
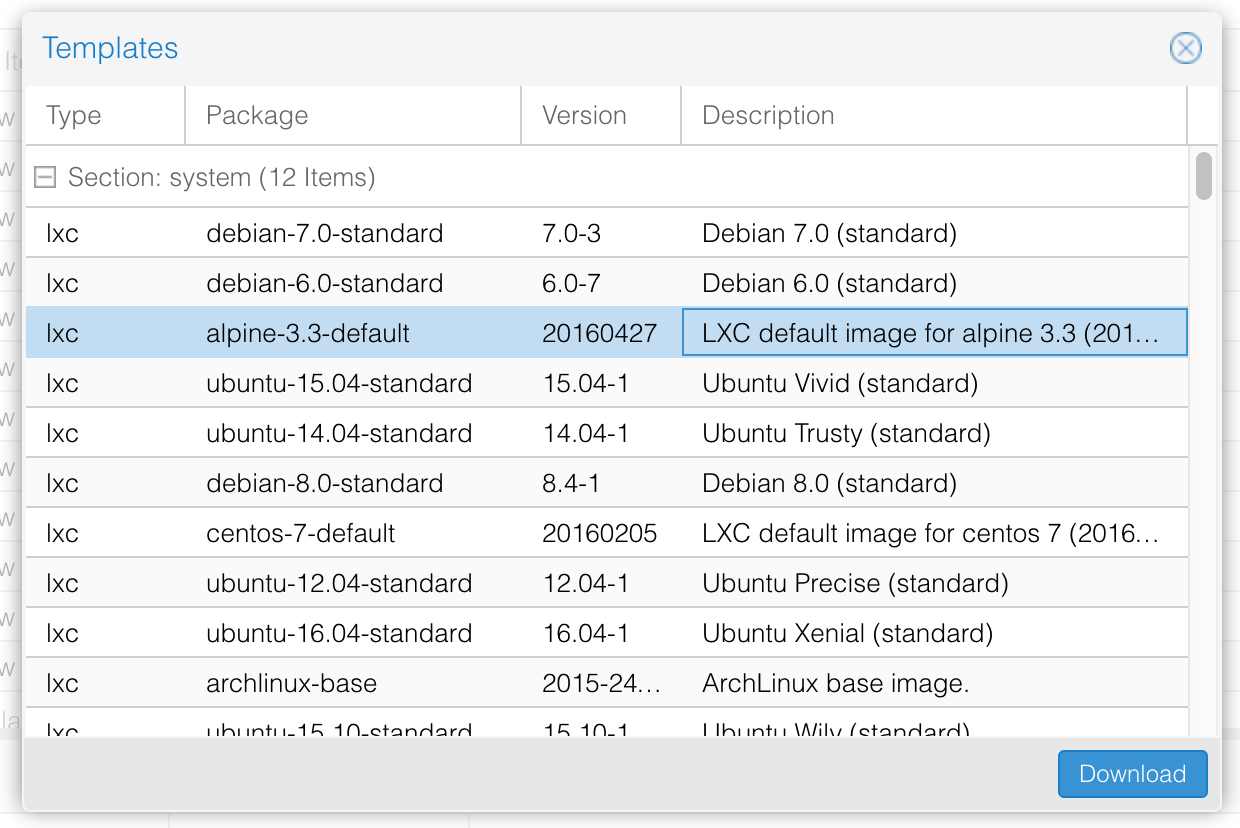
From here you can just click on the ‘Templates’ button, locate the Alpine Linux template and download.
This will download the file to /var/lib/vz/template/cache by default. You can also upload templates manually to that location if you wish.
Creating the container
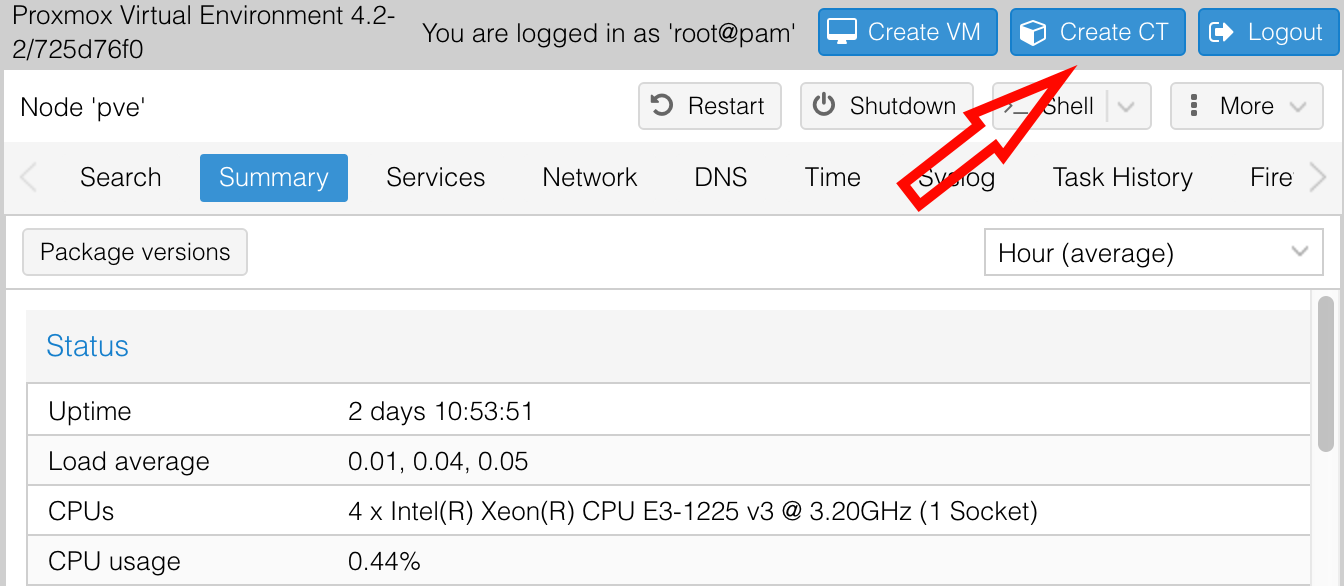
Let’s start by creating a new container from the Proxmox web interface.
General Information
Next we’ll fill out the general information about the container
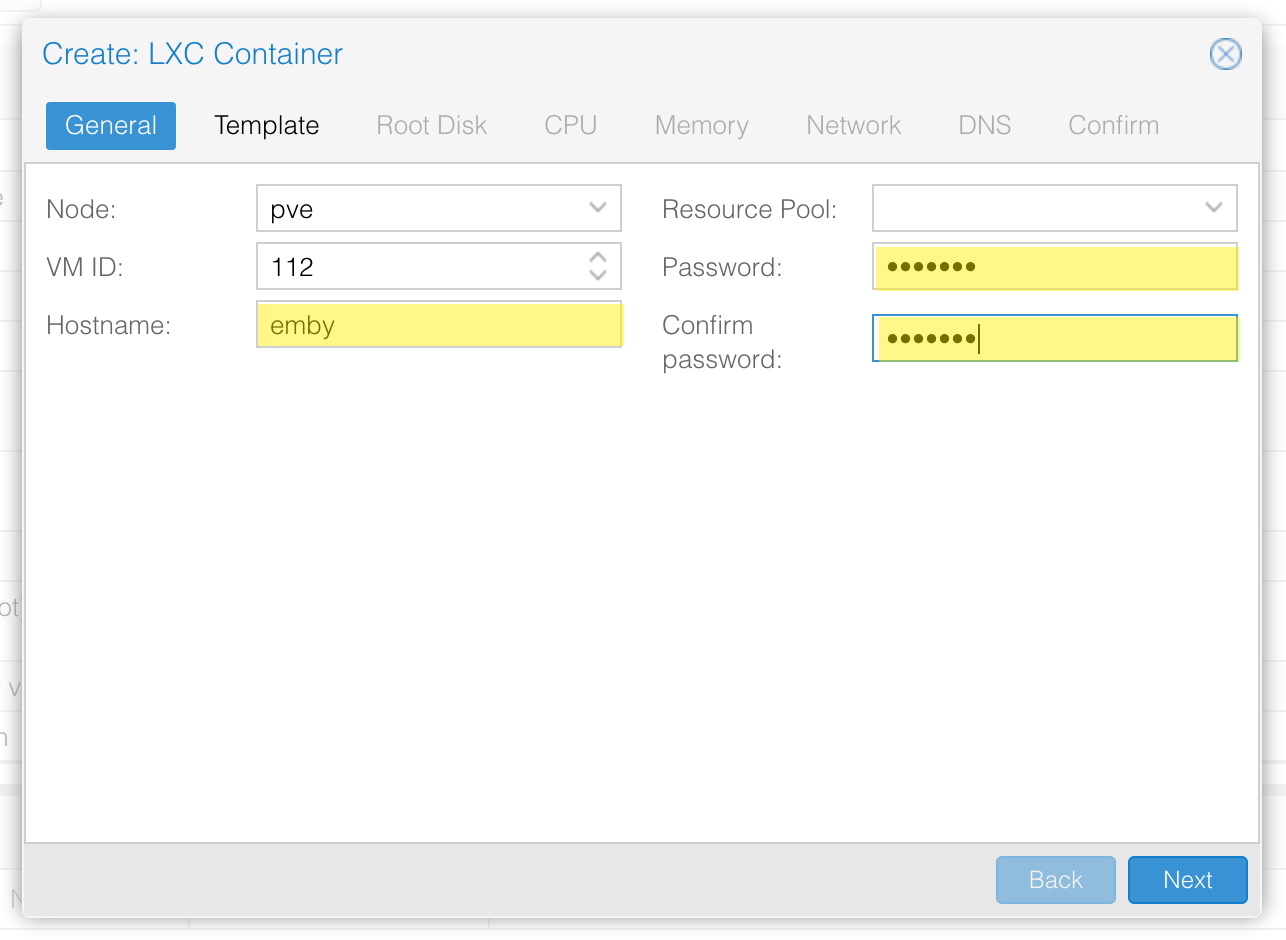
| Field | Purpose |
|---|---|
| Node | Physical machine that the container will live on. I only have one server in my 'cluster' so that is my only choice. |
| VM ID | Proxmox's internal vmid for this container. We will be using this number a lot, especially when using the command line tools |
| Hostname | Self-explanitory |
| Resource pool | Only important if you're using resource pools. Can be ignored if you have a simple setup. |
| Password | Password for root user |
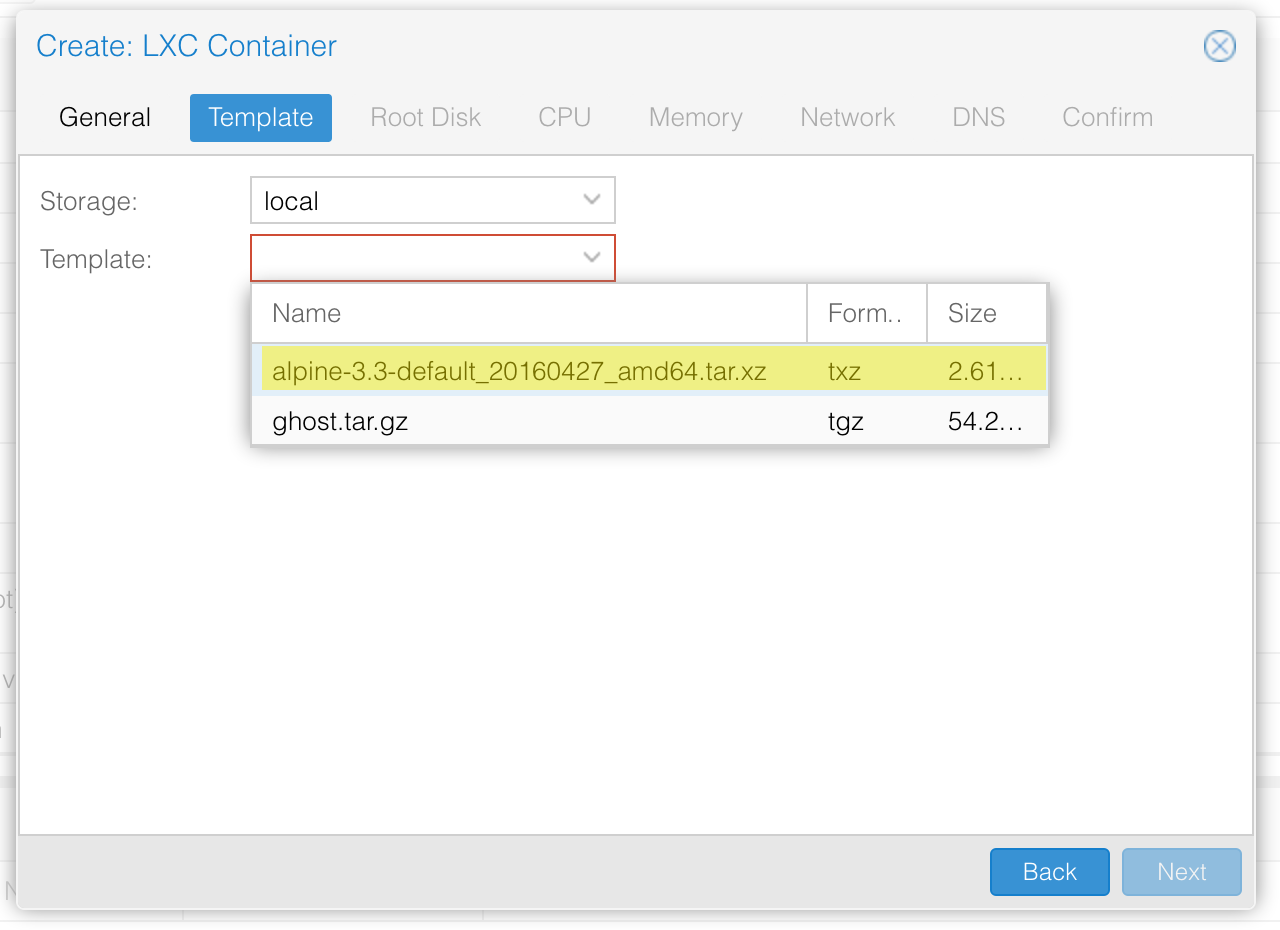
Template
Here you will want to select the Alpine template that we downloaded previously
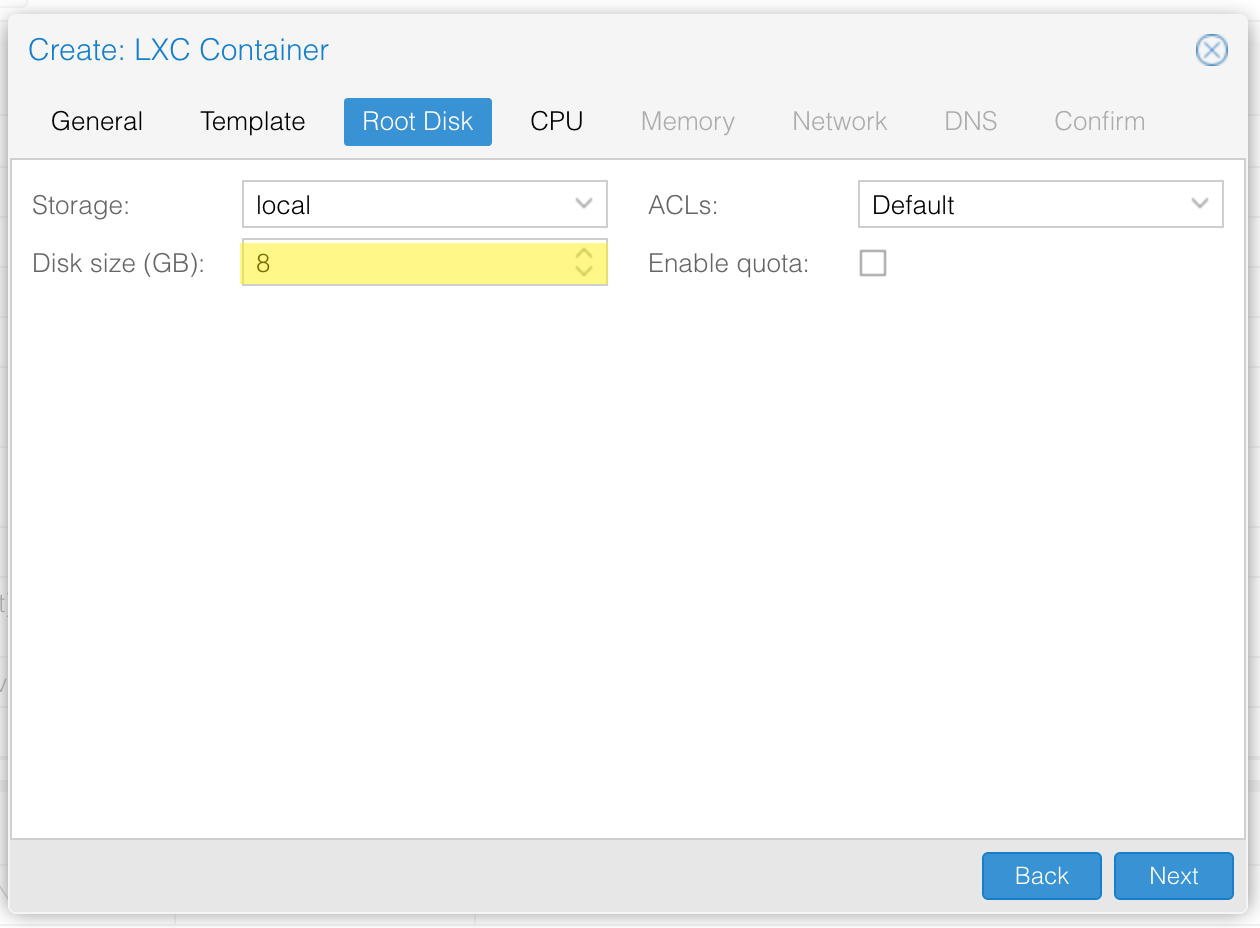
Root Disk
The only thing I usually change on this tab is the root disk size. That being said, if you’re creating a container that you plan on using a lot of storage, don’t add it here. You can mount host directories in the container directly.
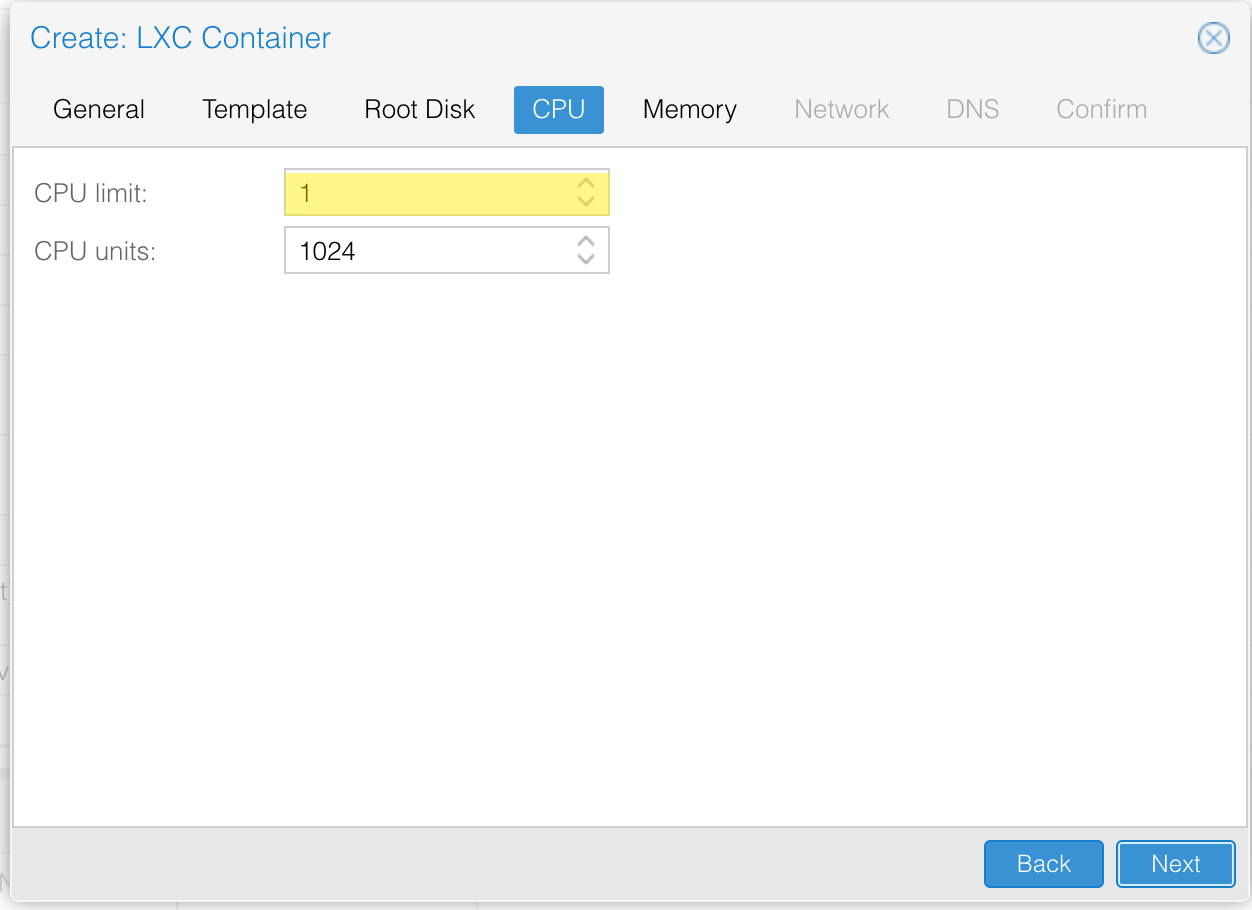
CPU
Just set your CPU core limit and be on your way. Don’t worry about oversubscribing to CPU cores, this is just the limit that a single container can use. Also see this thread if you want to know about CPU units.
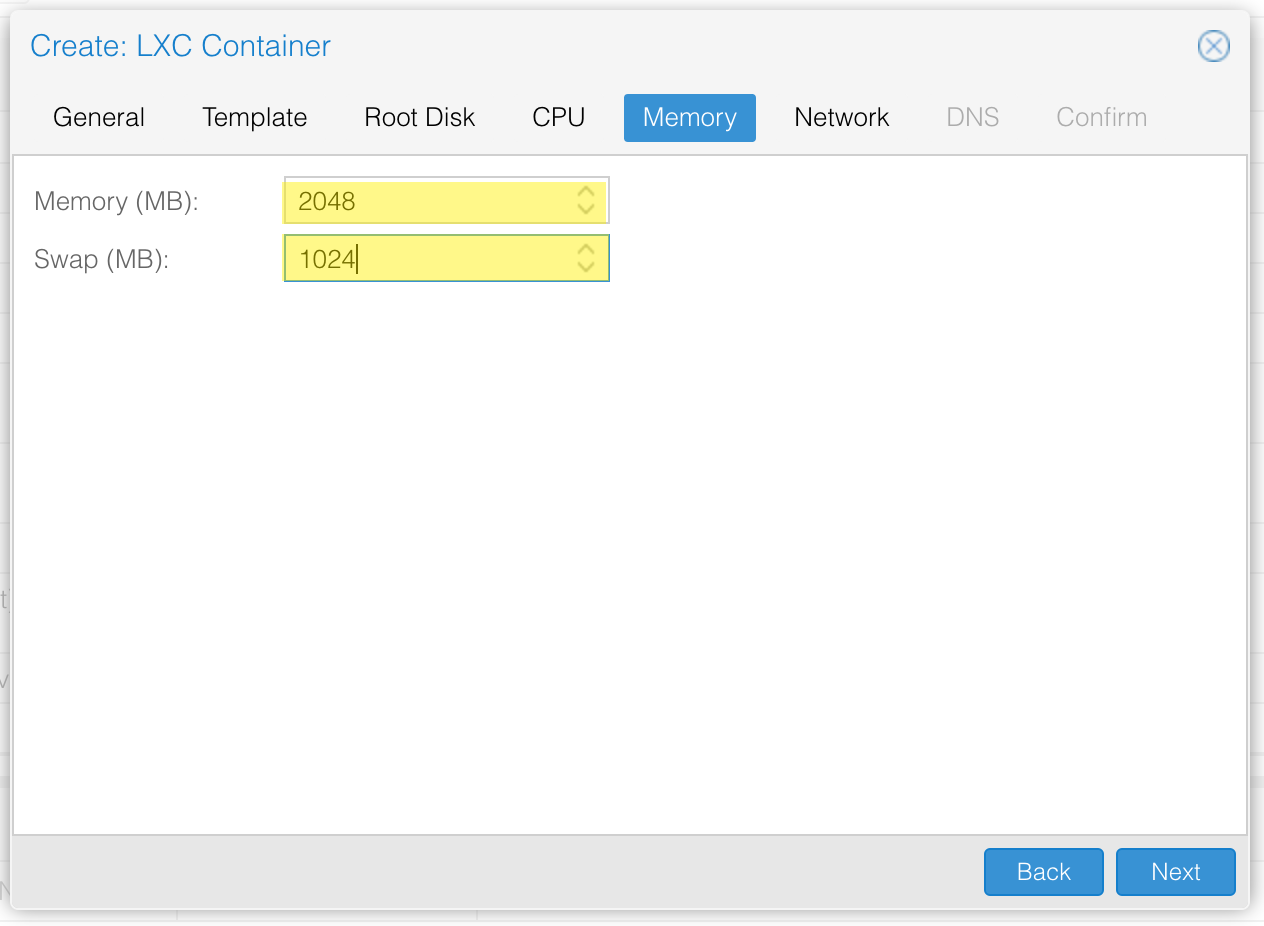
Memory
Set the memory and swap space that you want allocated to the container. Remember that containers are much more lightweight than VMs, so you don’t need to give them as much RAM. You can guess low on this page, and then easily increase it in the future as needed.
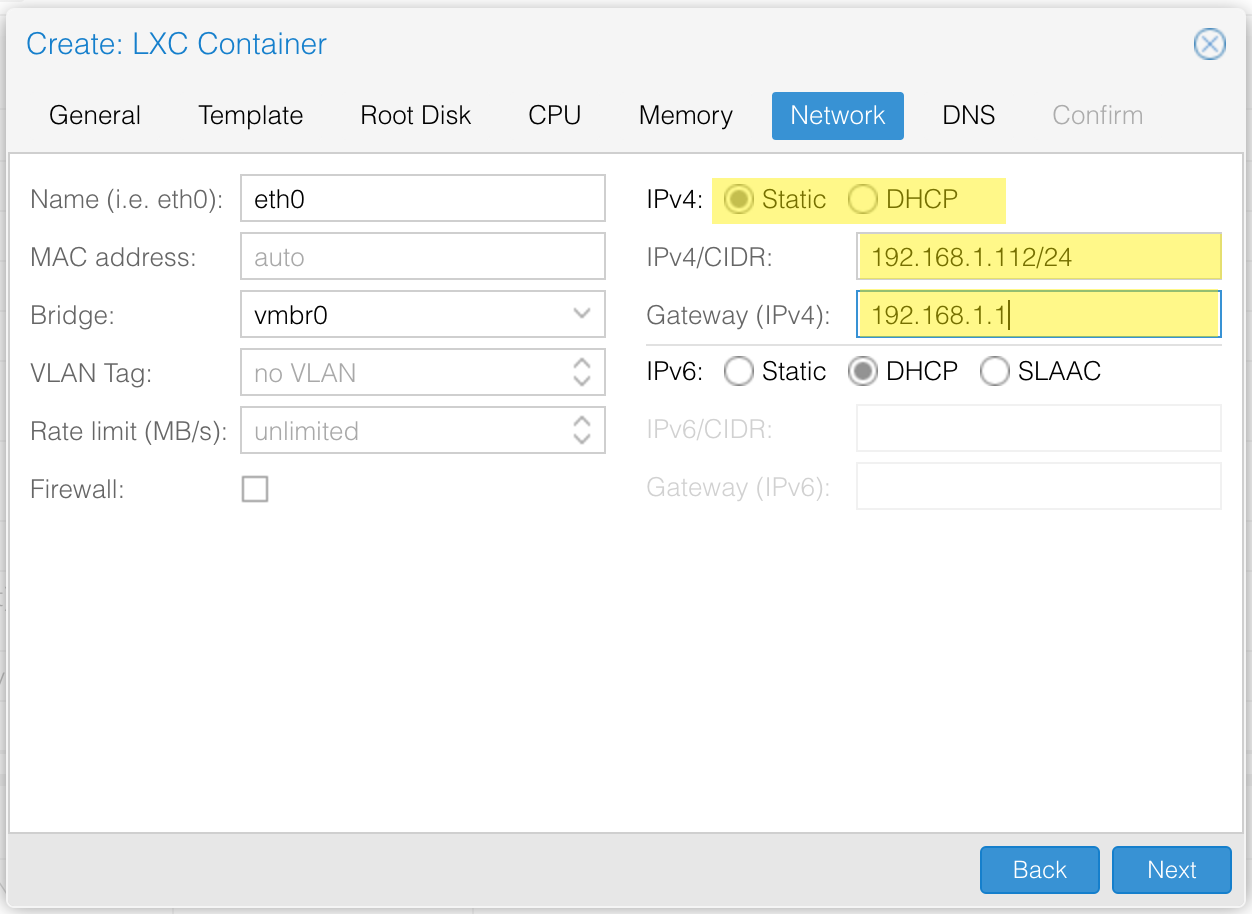
Network
Here is a basic network setup that I use. I like to leave a static IP address and set the last octet to the vmid assigned by Proxmox (112 in this case). This makes life easier if you’re running a relatively simple network.
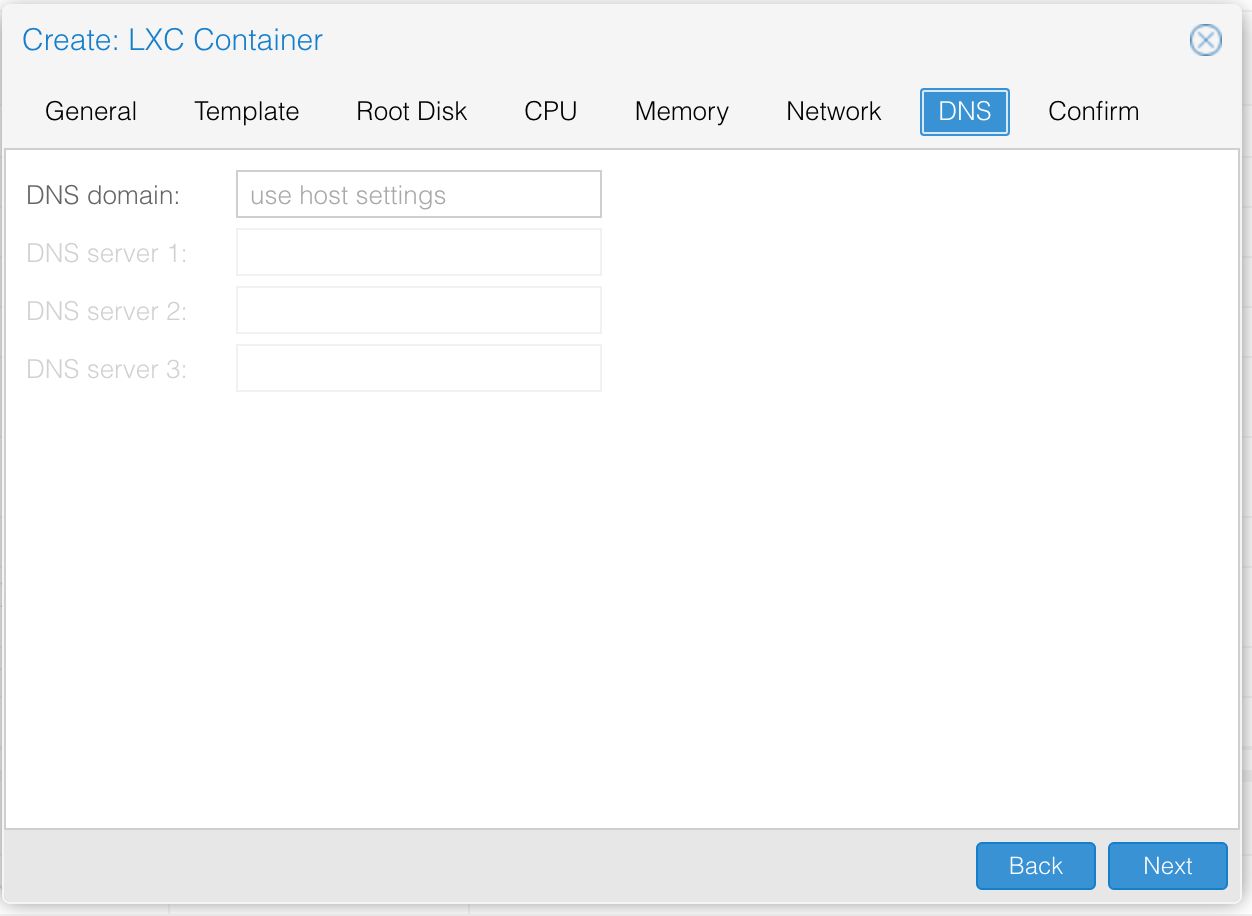
DNS
Here you can leave all the defaults. Only change this section if you know why you’re changing this section.
Confirm and Finish
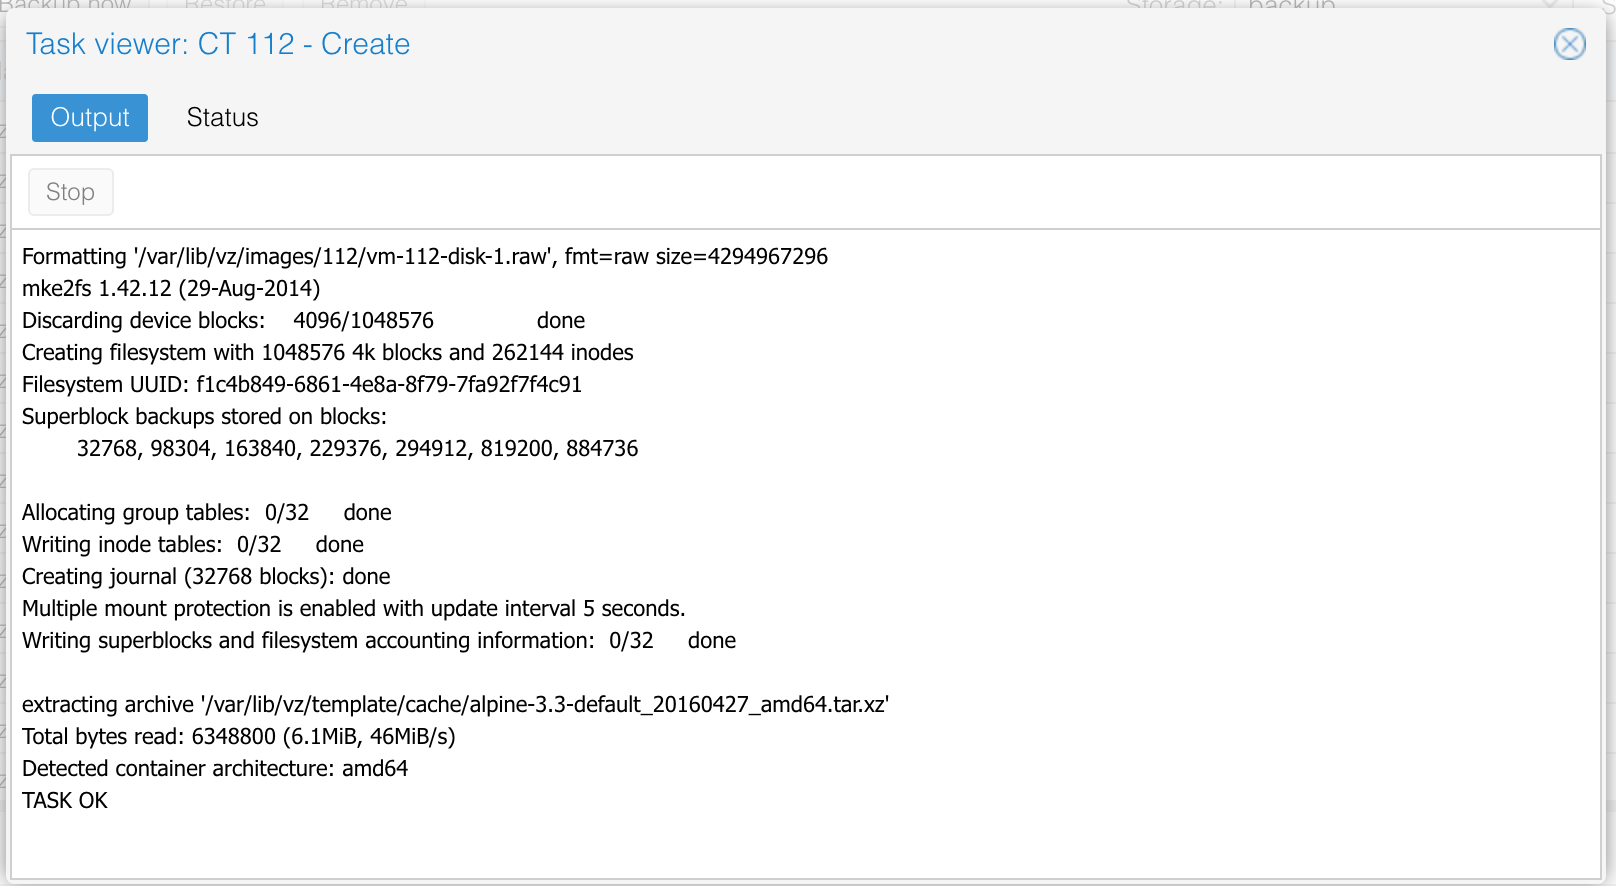
You’re ready to rip. You should see a successful creation as shown below.
Start and access your new container
From here on out I prefer to use the command line tools to interact with my containers. This is done from an SSH session on the host machine.
Proxmox uses the pct tool to manage containers. We’ll also need to know the vmid that Proxmox assigned to the container upon creation.
# Start the container
pct start <vmid>

# List all containers w/ status
pct list

# Access the container
pct enter <vmid>
Once you pct enter your container, you should be able to apk update && apk upgrade.
# pct enter 112
/ # apk update && apk upgrade
fetch http://dl-2.alpinelinux.org/alpine//v3.3/main/x86_64/APKINDEX.tar.gz
v3.3.3-57-gb0ca6a4 [http://dl-2.alpinelinux.org/alpine//v3.3/main]
OK: 5317 distinct packages available
(1/2) Upgrading libcrypto1.0 (1.0.2g-r0 -> 1.0.2h-r0)
(2/2) Upgrading libssl1.0 (1.0.2g-r0 -> 1.0.2h-r0)
OK: 6 MiB in 16 packages
/ #
That’s all there is to it! You can now download any package from the APK Repository, or follow one of my guides.